Monday 30 August 2010

Bees Cees and case of a tail gate

Over the past couple of weeks the car has really took shape and I am slowly seeing the car transform every week.

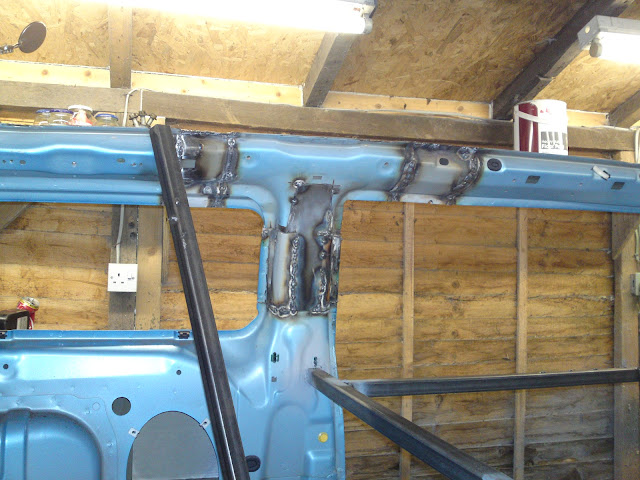
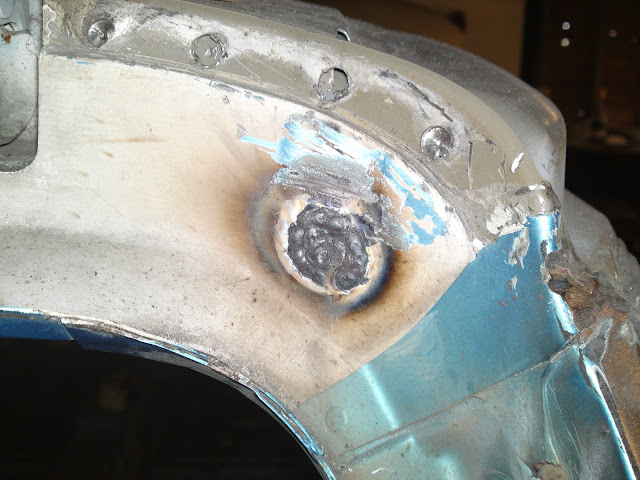
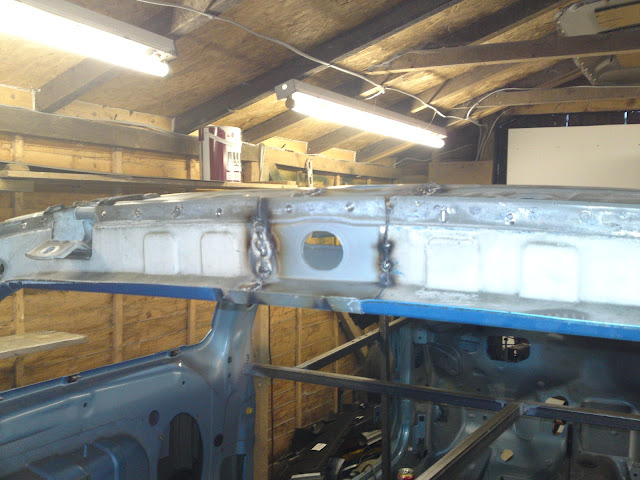
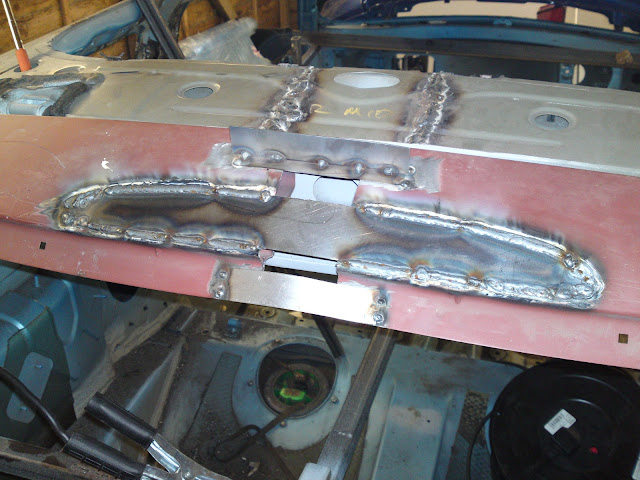
In one day I got to the unit early knowing what I had to do. I wanted to get the join between the C pillar and B pillar also I wanted to get the B pillar to the c pillar connected which would then leave just some work at the front of the car on the inner A pillars and also some work on the B pillar.

The join between the C and B pillar quickly went in with little problem, the practise from the other side of the car meant that this time I knew what to do and how to approach the task.
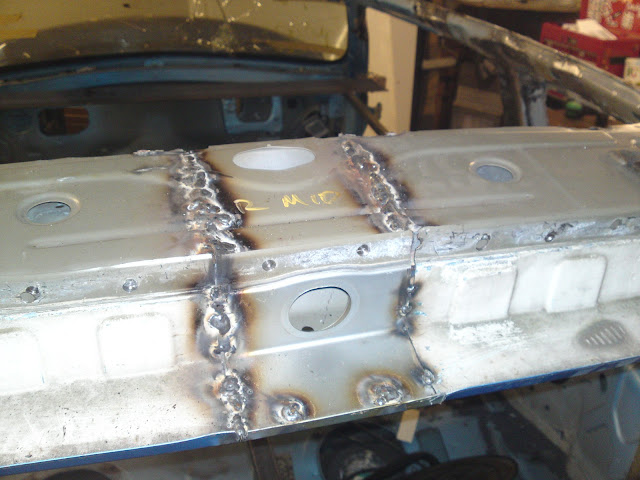
In went the Join


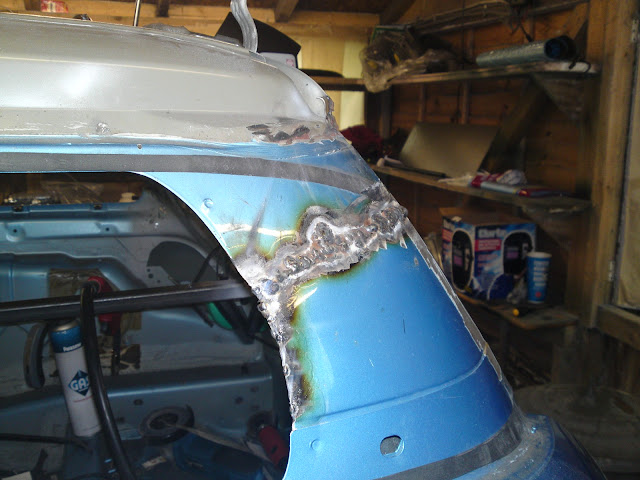
Then keeping it simple in went the B to A pillar


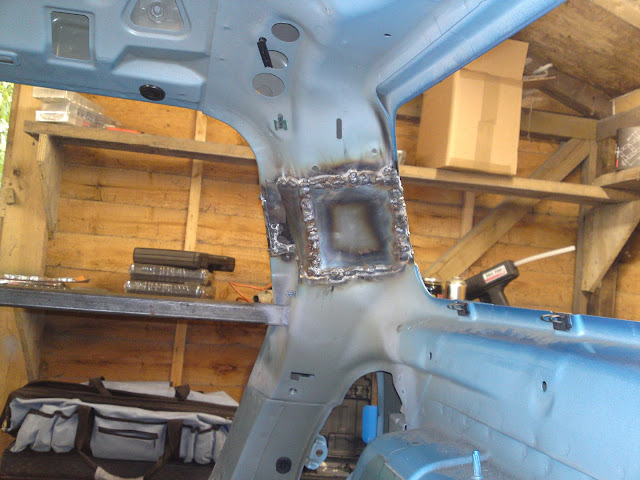
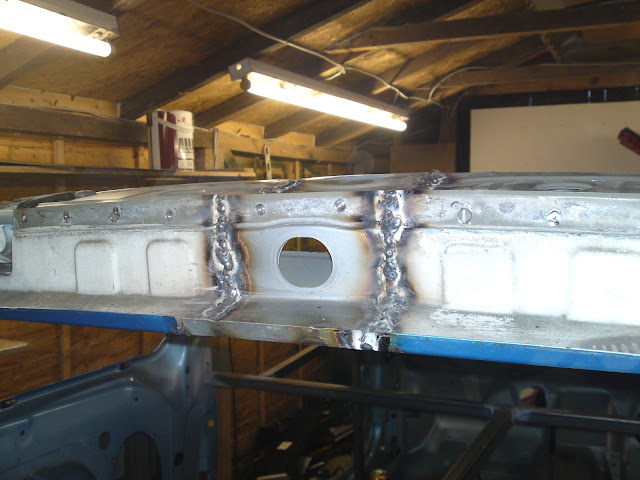
With the joins in, I set about putting in a plate inside the B pillar and then drilled holes through from the outside of the B pillar in spot welded it together. With the B pillar in the place I then set about cutting and making the outer skin and welded it in place


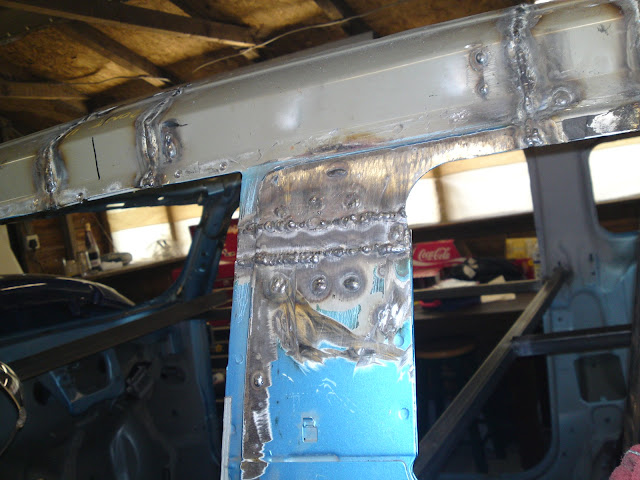
As previously performed on the other side of the car I set about building the innards of the B pillar


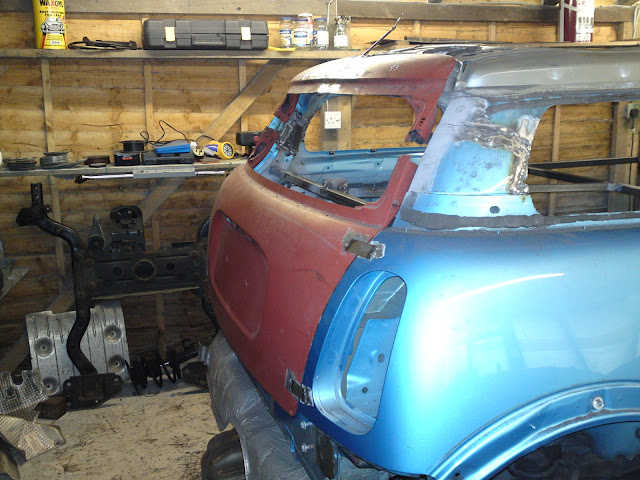
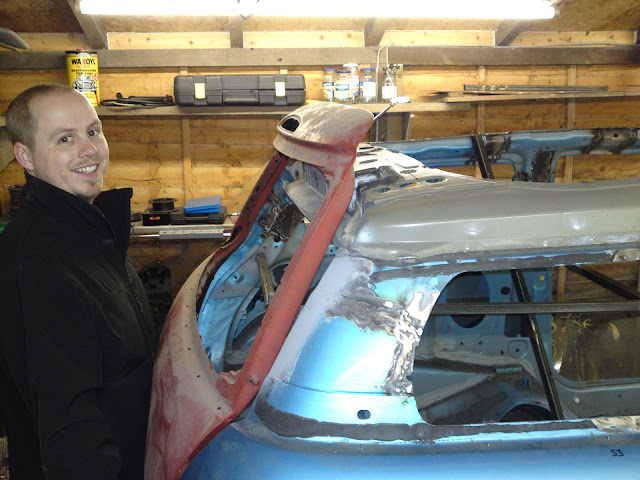
On to a moving body panel! the tail gate, I am quite excited about this. Here I am holding up an original sized tail gate and its clear to see how much height has been taken out of this car.


I was glad to have Rich to hand here. First the thing to do was to cut the tailgate into 4 sections and then 2 sections where bolted to the hinges.


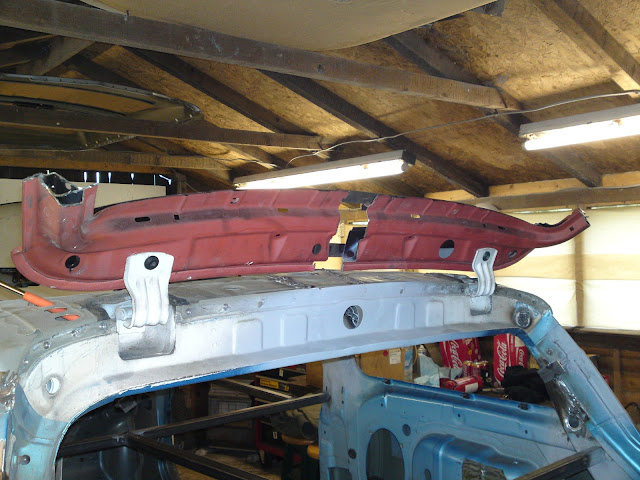
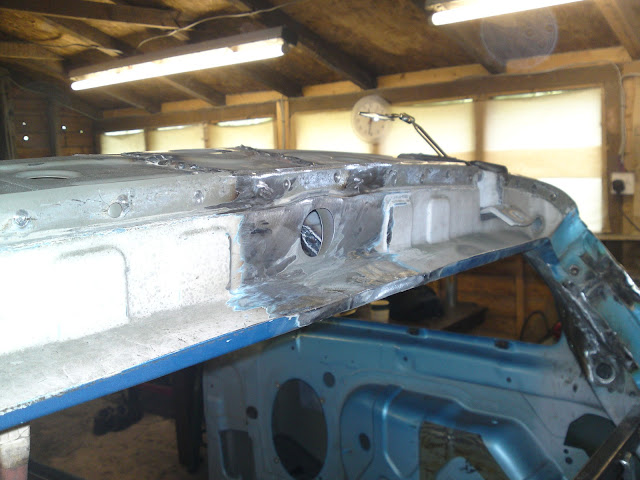
With the 2 top sections in place a couple of sections of steel plate was welded into place to keep it together and help with the alignment.


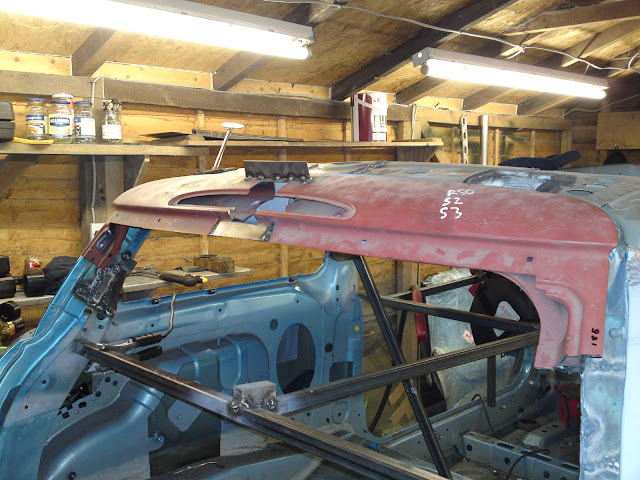
Once the top sections of the tailgate was in the next was to tack weld the tail gate into place, this involved a fair amount of measuring to ensure that all the gap settings where perfect.
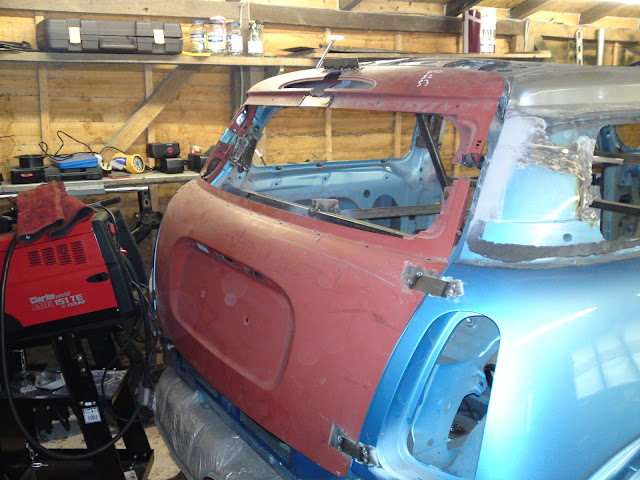
I am a big mini fan both new and old and while I appreciate they have at some point both belonged to Rover and I am used to seeing similarities between them, however with the tail gate chopped it really does look like the rear end of the classic mini (I know its supposed to look like the bigger brother to the classic but with the smaller window it really works)


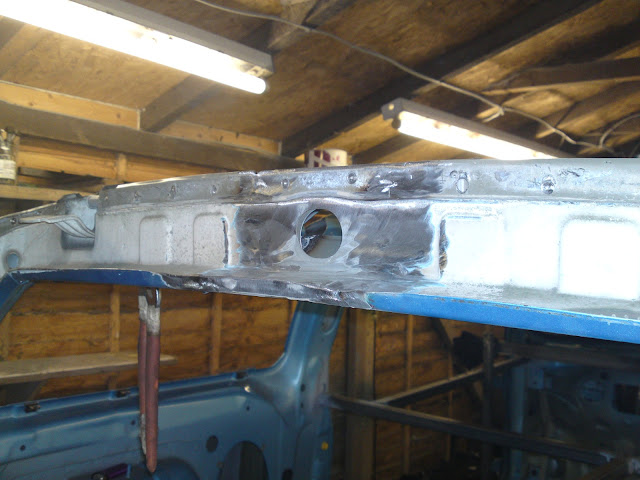
Then Rich set about cutting a sheet to fill the rear brake light and then I welded it into place


End of the day photos


Sunday 15 August 2010

More welding and grinding

Got to the unit today and my mind was all over the place, I just couldn't decide where to start and also what to do. First call was to make a nice cup of tea and unlock all the equipment.

After welding in the rear joining section in the last blog I decided that the starting point would be to finish off the welds and then clean up the welds so that the welds that could be seen could then look like they are part of the car.

The rear section looks really good and is smooth and with a little bit of work I think that I will not even need any filler in this section which is always a good thing.


Also welded in the inside section which needed to be cut and shaped to fit, this went well but I hate welding in tight spaces almost upside down...


Since removing the sun roof I had to fill the holes which where left from the drain holes. I needed something that was round to fill the hole... it then struck me that the 1 penny is now steel and looks to be the perfect size (not sure of the legality of welding on coins?) Well for respect I welded on the tails side of the coin so I have the queen on the inside, not that this will ever get seen. With this in place I welded it and filled it, this will need to be ground back so that it looks like there was never a hole there.


After finishing with the rear section I then moved on to the c pillar and quickly put the panel together, not sure how, but it went together quickly, lots of cleaning up required, it will look good very soon...


Its been a while since I have snapped the car as a whole so here it is in the current state.


Hopefully there will only be a few more weeks of welding the body then on to other welding of the roll cage, rear lights, and roof

Saturday 14 August 2010

Tailgate center section join

With one side of the car done I did start cutting material from the passengers side c pillar but then decided that it would be good to get the join done between each side of the rear.

The first thing to do was remove the central section join which I had placed there when I tack welded the car together, as I had cut down the middle there was a half circle on each section which is not really what I wanted. I then took a rear section which I had stored from another roof and chopped out a section to a size which would match the section on the rear.

I then opened the rear section up to match the section I cut earlier and then installed the inner section of the cut part. With it in place I held it with a magnet and then welded it together. I love it when something goes together with little effort.


With the inner part welded in I then inserted the outer part and welded it in.


That's it for now, only had 5 hours on the car and that includes setup and clean up... next will be c pillar etc.