Sunday 23 May 2010

Outer roof frame weld in p1

With the hottest day of the year so far upon us I took it upon me to spend the day with molten metal and fire.

Firstly this is for David who will have noticed the lack of injury as at the start of the blog, as commented on. You will be happy to know that while welding today I noticed a warm ankle and then realised I was on fire... enjoy.

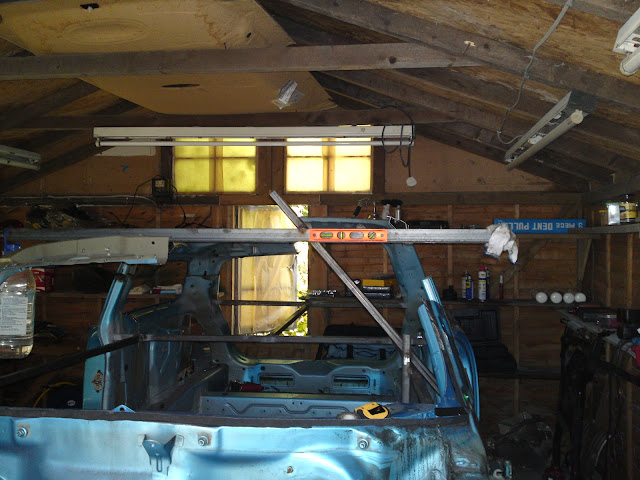
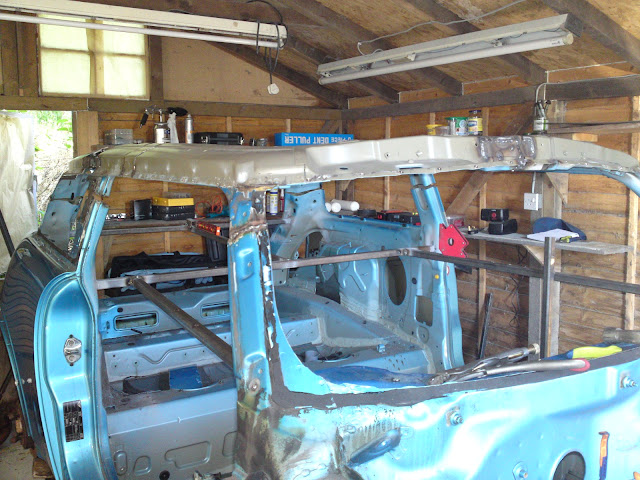
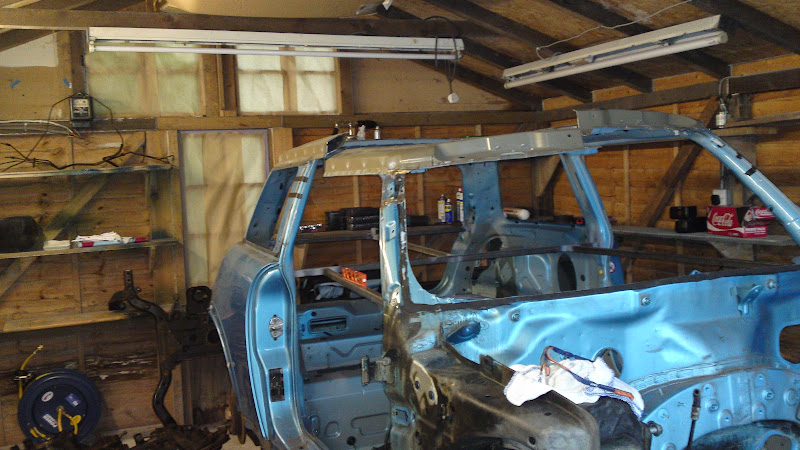
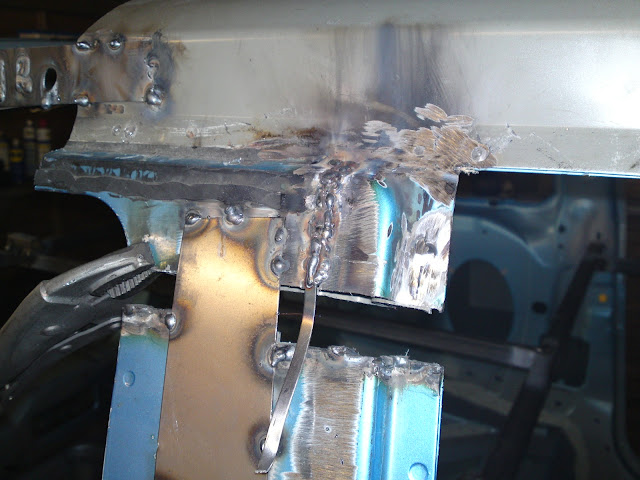
Starting at the A pillar I had to chop a triangle section out, once the triangle was removed I then set about using the blow gun to heat the metal and working the sheet in to meet the cut top section, this can be seen in the photo by the weld lines. With the triangle cut I tacked in the points and then taking a sheet of paper I used my grubby thumb to rub a template of the triangle now required to fit the gap. With the paper template cut I then use a magnet to hold it in place while I tacked it into place.
With the new part tacked in I set about seam welding the outer of the A panel and all I can say is it went in very well.


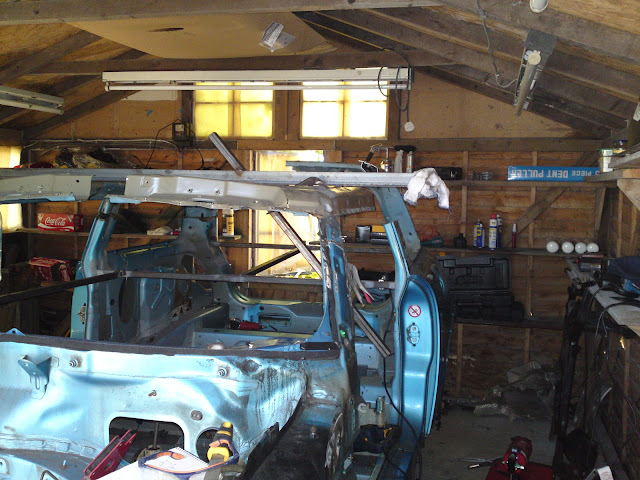
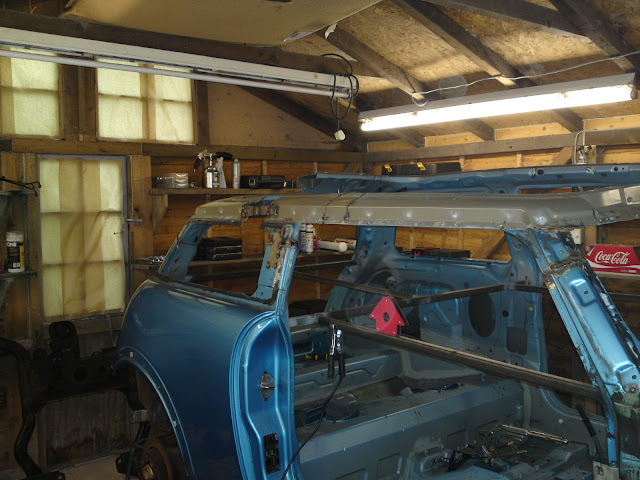
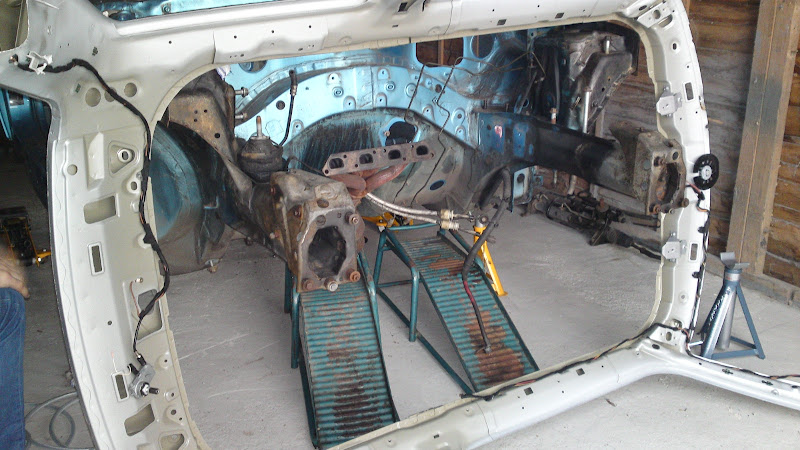
Next on to the join between the A and B pillar, the one side was already done, ground and sprayed though I have to say the welds here where very easy and quite pleasing to perform.


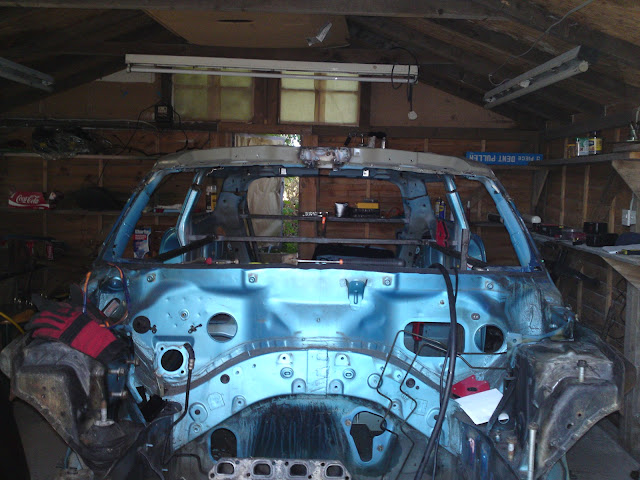
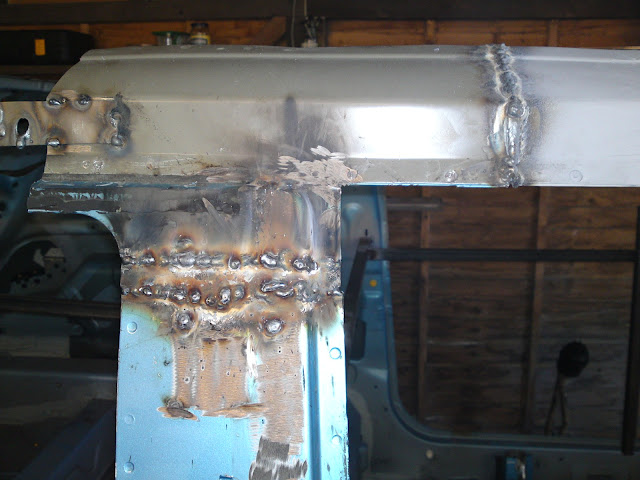
The B pillar took a lot more work and bits had to be moved, firstly the corner at the top of the B pillar was too far in and had to be cut and moved by 5mm this meant that I had to place a small sliver of 0.80mm steel in so I opted for the stop start method of welding ensuring no holes where blown.


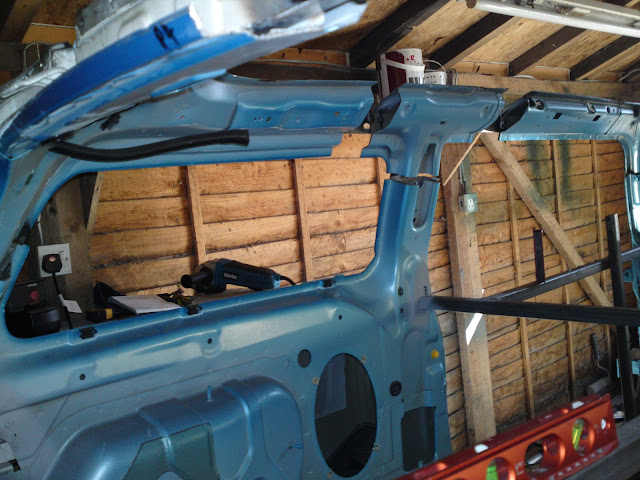
With the B pillar all in line I welded a 1.5mm thick sheet inside the pillar for extra strength. With this in I took a spare B pillar I had laying about and cut a 20mm wide strip and welded it into place.


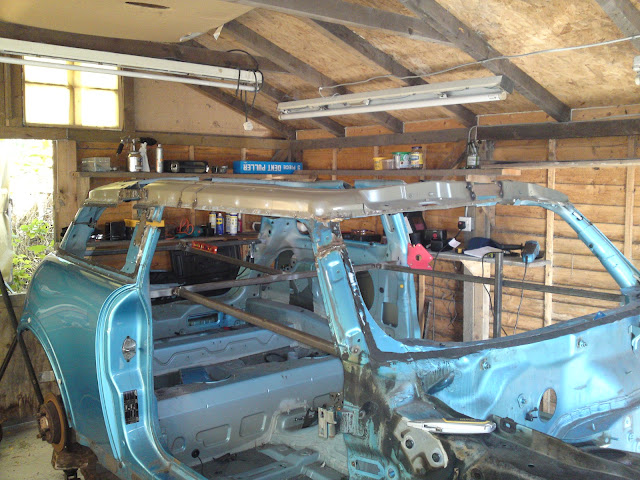
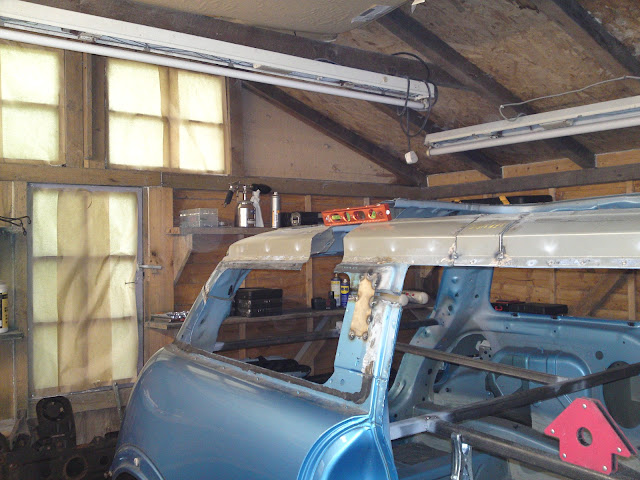
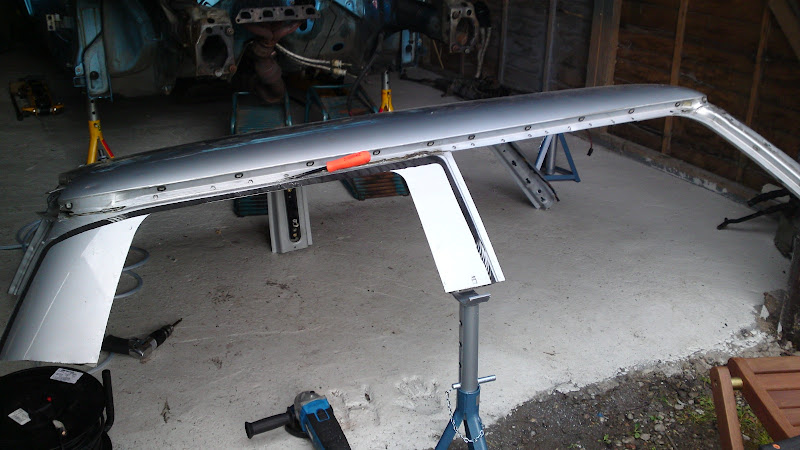
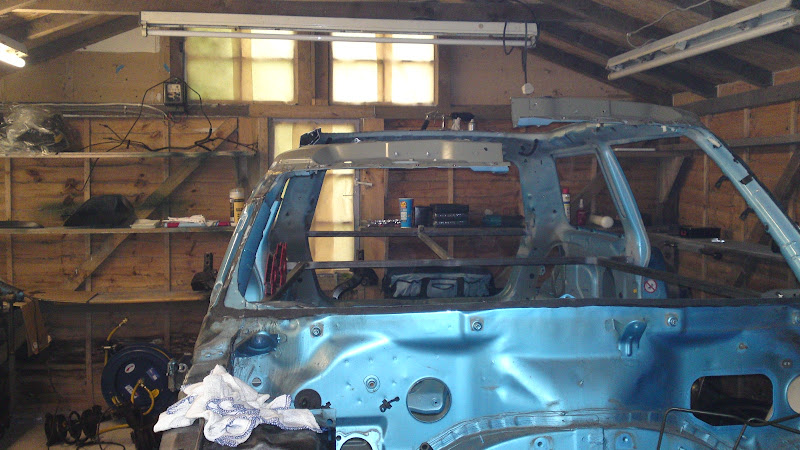
Happy that I had the outside of the B pillar done I added one support to the window frame and removed the top support, I then took a spare rear 1/4 section and cut it to fit the gap. I was really pleased with the cut it matched perfectly, and then I just tacked this into place and went home.


Sorry to everyone who finds looking at welds boring but this is going to happen for the next few weeks, just hold out for the grinding of the welds... or when I get to body preparation which will involve lots of sanding. Sorry, the engine will be started on very shortly.

Saturday 22 May 2010

mini roof chop p3

An early start of 0600 saw me at the unit with a set goal to have the roof frame chopped and tacked into level position, since it took 3 days on the other half I knew that this was going to involve work. Its not just a case of chop it and see I need to ensure the original lines are still there and mostly to ensure the car is as ridged if not more ridged than before.

With my tape measure to hand I set about recording dimensions and marking cut lines to ensure that they where the same as the chopped side, this is difficult as the car does not have many measurable features but taking my time I managed to find enough features to mark the cut lines. My fist section to cut is the B pillar though this cut needed to be an extra 20mm due to the further work which will be required to make this rigid again.


With the B pillar out I then set about working the chop of the A pillar, this as the other side is quite a nice cut which comes out easily and welds back in without any problems. As this is the driving line for the roof it is important that it is level with the other side. To make the A pillar section of the roof the same height as the other side a frame was added, this was measured and controlled via a spirit level. The frame acted as a very useful guide to installing the A pillar.


With the A pillar in place it was tacked. The following B pillar was placed onto the car and tacked in line with the A pillar section.
With the A and B pillar in place it was then back to the C pillar, the one which gives me all the trouble as its a difficult cut and also quite bulky, not to mention the amount of sheet metal work which will be required here.


Aligning the C pillar is difficult on my own and its clear from the photo that its not clipped in the right place, I know that but I must have been trigger happy with the camera... time for a photo of it in line?


Anyway the roof frame is all tacked in and its taken 9 hours to do the one side. Now starts the long job of seam welding and filling the gaps to include adding strength parts as required. Here is a photo of it in an all tacked up shot.


Before I decided to clear up I thought that I would get started on one of the infill sections so using some of the spare roof sections I had from an earlier stripped roof I took a section for the central front and using a chop off disk shaped it to fit then using a blow lamp, hammer and vice I shaped it to fit perfectly. Then with the sun shining on my and fully dressed in my leathers I welded the section in. I am really pleased with it and already the front has less play than it had prior to the roof chop. I believe this to be because there is less height.


Shot to end the day

Thursday 20 May 2010

mini roof chop p2

With the B pillar not in correctly my first job was to remove the couple of tack welds holding it in place and to jig it back into the correct place using magnets and clamps, with the pillar in place I set down and applied a couple of small tack welds.
With the B pillar in place I decided that to hold the car together while I worked on it small strips of steel would be used. This is simply tacked into place to ensure I get the lines and positions correct, once everything is in place they will be removed and rebuilt correctly and structurally.


With the B pillar in a place that matched and suited the lines of the car the next thing was to chop the C pillar down. The C pillar is the most involved on the whole of the car, the sheet metal is the thinnest here and also very flexible, not to mention is not as simple as cutting and welding it back into place. A lot of the material here will have to be removed and rebuilt to ensure that the strength is not lost.
Knowing it is going to be hard my aim is to chop the roof down and tack it into place to ensure that everything fits back together in the new position.


With the C pillar in place, I bridged the gap between the B pillar and the C pillar with another section of tacked steel plate.


With everything tacked together its on to the other side of the car to repeat what has already been done.

Monday 3 May 2010

blue has a little, then a little more chop

With the bank holiday weekend in sight I had my plans in my head of what I wanted to achieve, I had been in discussions with Matt from MRJ Racing or otherwise known as mini matt with reference to two roofs. Matt managed to sort them out at a good price and then deliver them to my unit.
The roofs arrived on the Friday which meant when I got up Saturday I could start work on them.


I arrived to the unit on Saturday with my spot weld drill bits and drill in hand and set about removing the spot welds off one of the roofs, the solid roof is much easier to remove than one with a sunroof in because there is no internal mig welds so its a case of some grinding and much drilling and the roof simply lifts off.


With the roof skin off I placed it on top of blue and found that the silver and blue actually works quite well, though there are easier ways in which to change the colour of the roof!


With the roof skin on the car I set my attention to chopping the left over frame in to sections marking each bit so I could use them later, this was quite time consuming and kept me busy for a little while.

Once chopped up I placed all the parts in a pile and set about placing the roof skin on the rafters of the unit so its safely out the way.
With my tape measure in hand I started to mark out the car so I knew where to cut, this made me slightly nervous as this is where big mistakes will eventually show so taking my time to get it right is vital here, well mostly as I am only tacking it into place so it can come off again if it needs too.

With the roof marked I made my first cut to the A pillar, it was fairly easy to cut and was soon in my hand, I then set about cutting the next section out and before I knew it I was there with my mig in hand ready to tack it on, place the first spot on and the weld was rubbish, I could see it was bad, a quick look at the welder and I soon realised that the gas was off. with that sorted I removed the old weld and placed a few tacks in place, this went really well.


With the front A pillar in place I went home with the question is it low enough? On return the next day I measured and found it was 2.75" which was as planned. I sat in the car and started to work out what I could get away with and still fit people in, a few hours later and there it was a whopping 4.5" lower! This really pleased me as it already started to have the look I wanted.


With the front panel done I set about lowering the B pillar which was more tricky as there is 4 sheets of metal in there. Once cut I put a couple of tack welds. I then picked up one of the sections removed from the spare roof and cut it to size to fit in. Everything there was test fit and I am aware that they need to come out and be put back in straight as currently the B pillar is suffering with some run out which I will sort next time.