Saturday 15 December 2012

Sub frame assembly on to the car

So here we are with another Saturday coming to an end and another day spent at the body shop working hard on the mini, the day has been good but also some disappointment when I realised the wheel bolts where too short :(

Having built the sub frame last week I took it with me along with all the other things (glad my daily estate is big enough)

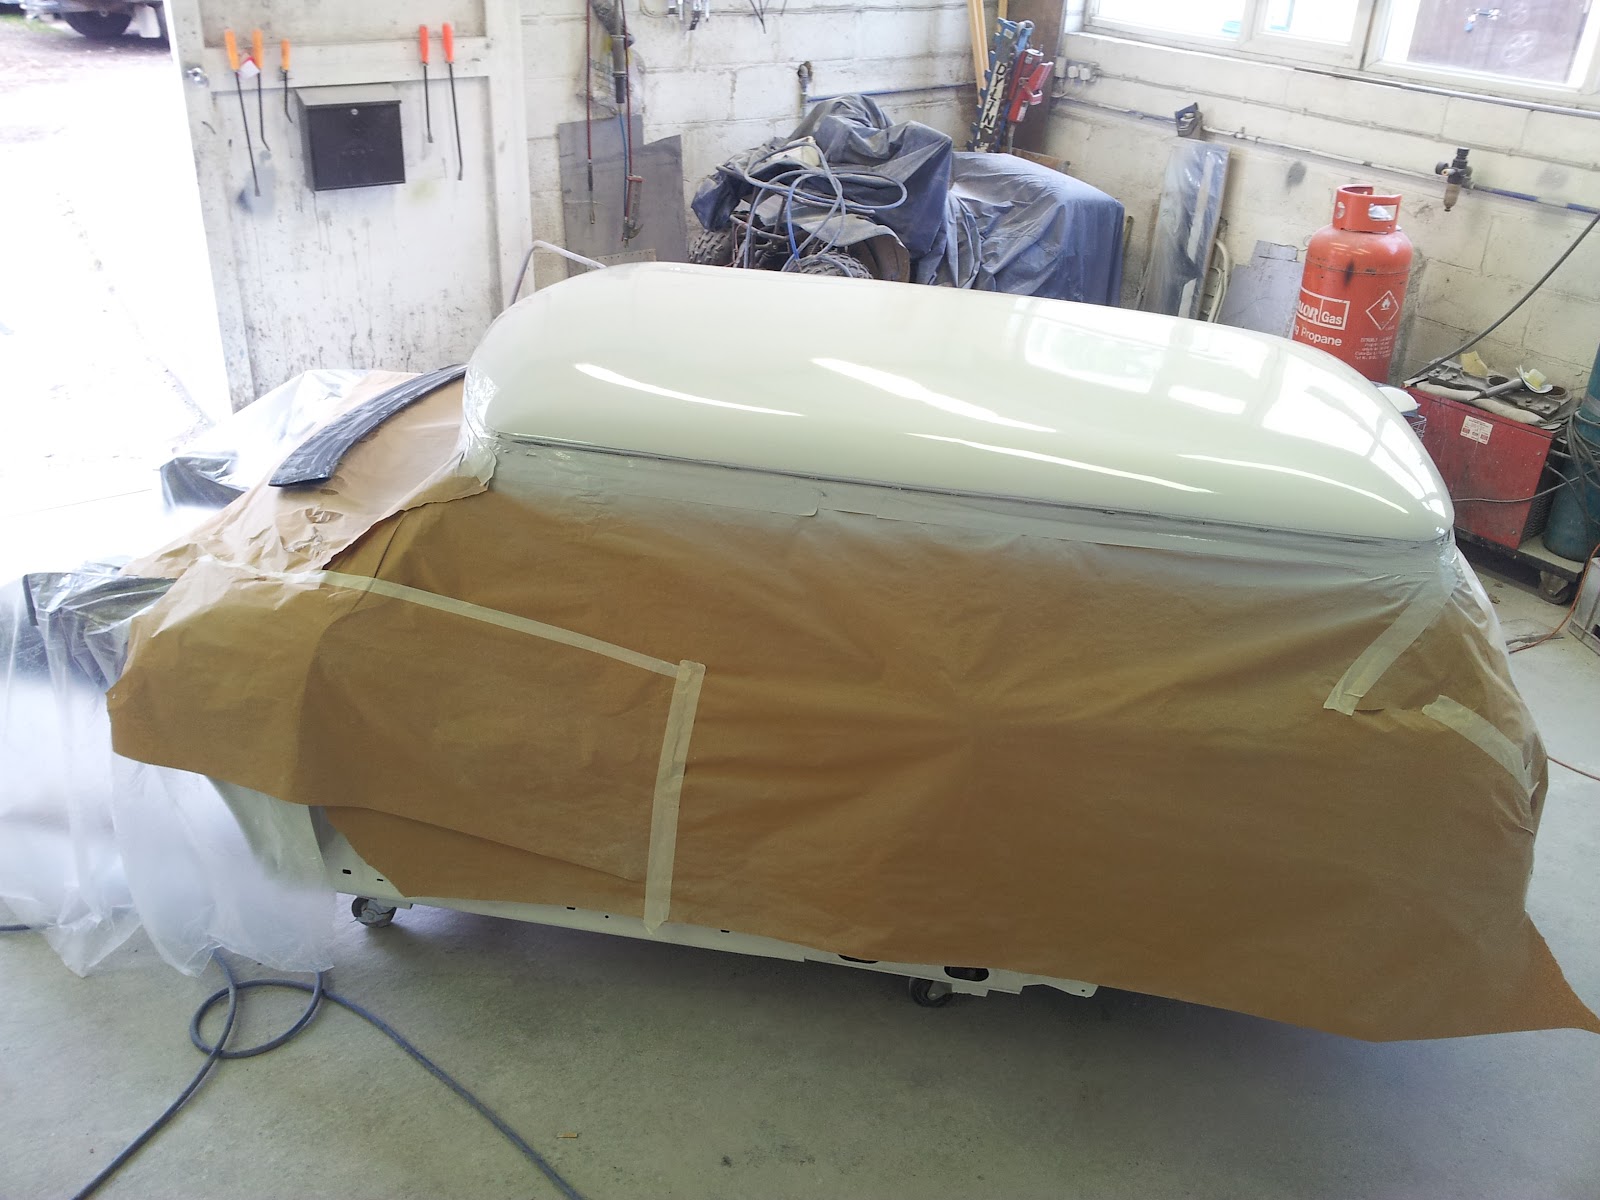
OH WAIT! forgot to say I am assembling the sub frames because the car is now painted!

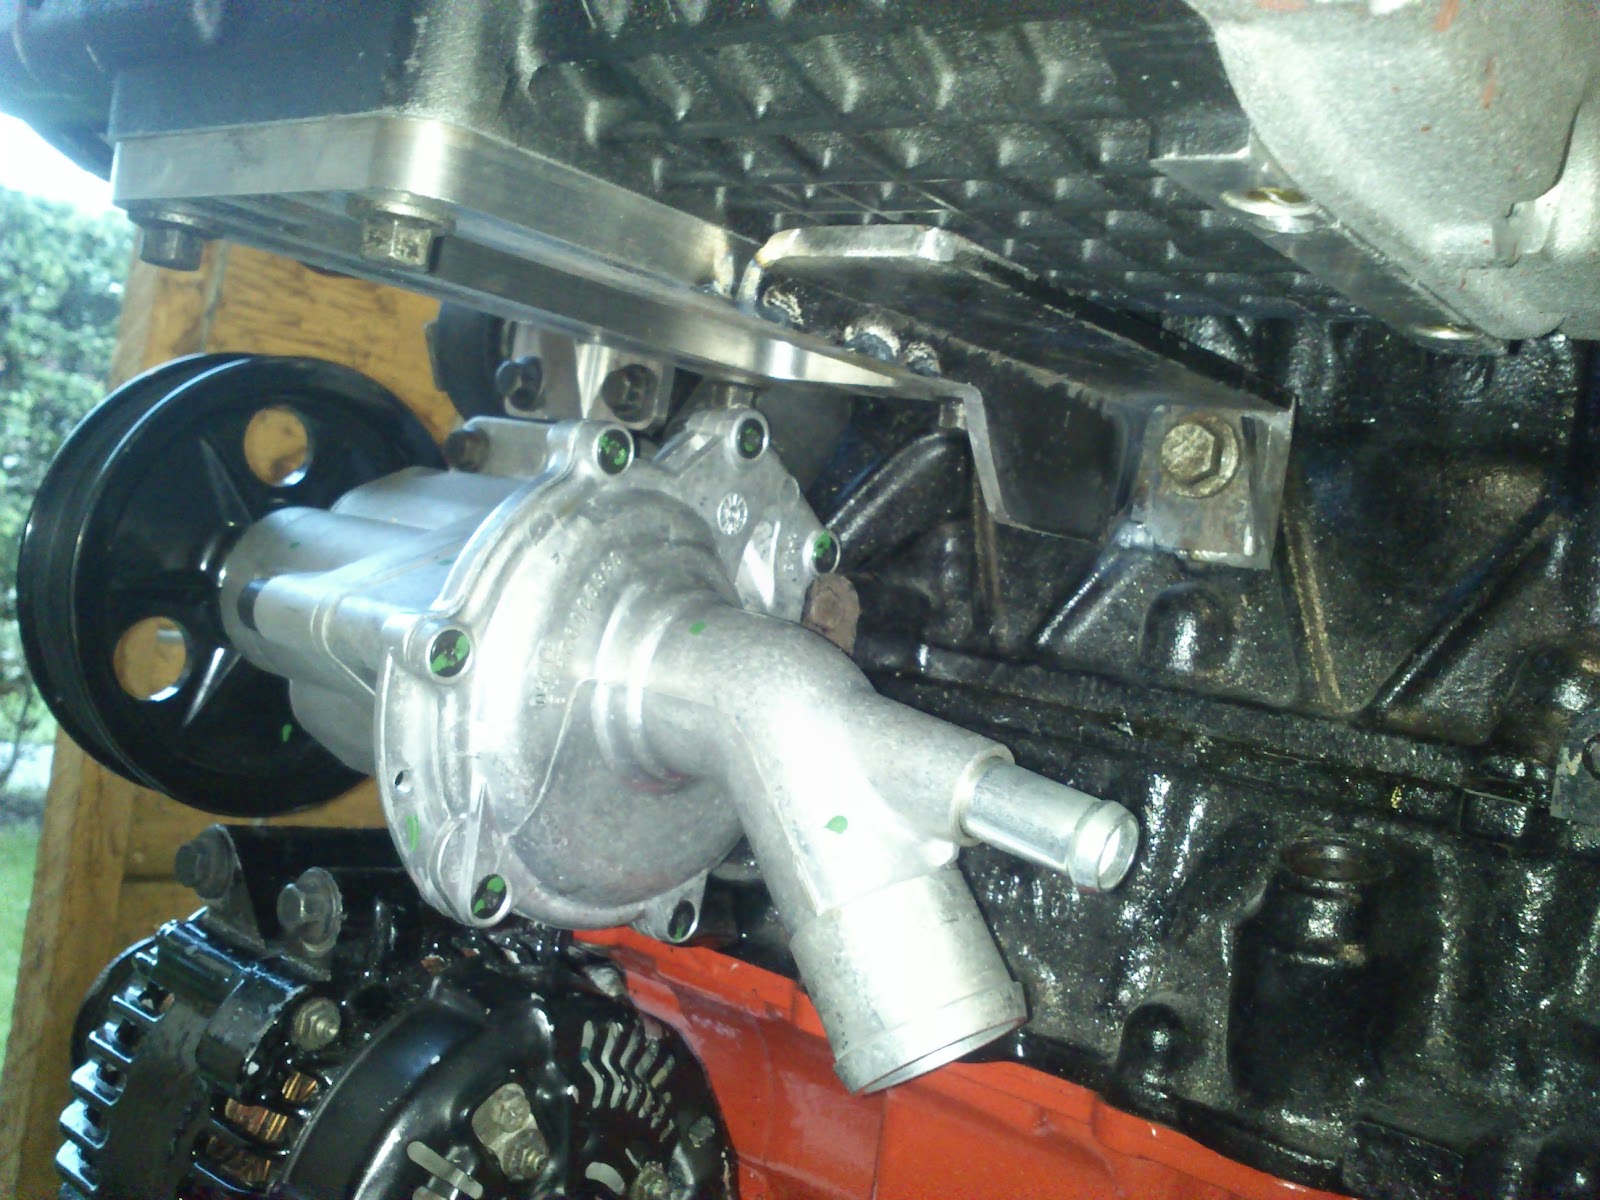
Anyway back to some assembly, car was tilted up and the front suspension, sub frame, and hubs all added

Dropped back down on the frame as sadly the wheel bolts I have are too short, really wanted to see the car rolling today but sadly without the bolts this is not happening


Rear subframe assembled and bolted to the car


So the whole car... well with it not on its wheels but still more complete than it has ever been, well for the last 3 years. Still got to paint the inside of the car which will be done over the next couple of weeks, the cage is painted and I am so happy with how lovely the white paint is of the car. I really want the wheels, doors and bonnet on the car so I can finally see it built.


So much more to do but just look at it! when you think its been 3 years in the making

Ready to paint...

Seeing that the roof had been made and it fitted the car it seamed fitting that with all the bodywork done that the car should have a splash of paint.

I have not seen the inside of the car but have been told that the roll cage has again been painted but this time correctly and the inside has been given a coat of some description, not too important as it will be all covered and not seen.

When I last saw the car it was in the booth ready for paint the next day, with the windows having a paper fill I couldn't quite believe how small they are and how much the car has been chopped, all I can say about it is how happy I am with it and how well the body shop did with the car. I knew when it came to paint and sanding I needed professionals and they have been nothing but professional about the whole finish.

Some photos of the car in the booth;


Now knowing that I would next see the car painted I decided to spend some time opening boxes of items I had not seen for over a year since having the items painted / powder coated or in some cases all the new equipment.
I decided that I would go to the paint shop and get the car rolling next time I have some free time so I started to build the subframe and I think it looks just stunning, the red and the black work so well together and I hope that when the car goes back together it looks just as good even though a lot of it will be hidden by the engine.


With that done I applied a little paint to my tyres over the lettering, I did do the arrow too but I will be removing that as I am not sure about it but I know the white letters will be all tied together when it is done


Sunday 18 November 2012

Roof made and sitting pretty

With the mould made last time I finally got round to making the roof, my main concern here is to ensure that there is enough cure time between each step and to also insure that there is enough material to make the roof strong.

This time around I made sure that I asked enough questions to make sure that I had enough core mat, glass and the correct resin and the end result is fantastic, we are all very pleased

It started out with 2 layers of gel coat to ensure that any sanding that may be needed for the roof could be done without sanding into the glass layer.


I then followed with 2 layers of 450g chop strand mat, then a full covering of 3mm core mat with extra core mat across the middle sections, then 1 layer of 650g mat and a final layer of 450g mat and then it was left for 1 week to cure.


The mould was so well waxed up with a little bit of effort the roof was released from the mould leaving a good looking roof skin and a smile on my face. We then carried the skin over to the car and placed it on the roof ready for trimming


Then with a mask on and a 3" cut off disc I carefully trimmed the roof skin down and although there is a little bit of work needed to the skin just to be sure that it is perfect


The car was then cleaned inside and we scotched the inside ready for this weeks painting event where the interior and hopefully the exterior will be painted. Then once done the roof will be bonded on (its left off to make painting inside easier) Finally the carbon skin will be added to cap the roof and then we are on to assembly. Maybe done for 2013...


Monday 5 November 2012

Grp roof mould

Again I am back here making the mould for the roof, this time a lot of time has been put into waxing to aid with the release.
All the hard work paid off with waxing, I was able to lift the mould off with just my thumbs and very little force. When lifting the mould off it was clear that the heat of the mould had damaged the roof.


Luckily for me the mould had firmly set prior to the roof cracking...

Mould was then placed on the floor and trimmed ready for me to make the actual roof. Then that's it, no more roof saga


Sunday 21 October 2012

Roof again

As time has passed not a lot of work has been done due to a back issue, however the body shop have been busy working on the car when they had some spare time. Luckily for me they have had quite a bit of time recently so they have cracked on and got the roof back to a stage where we can again make a mould of the roof and this time we will make a roof skin from the mould before the roof is removed...


Also they have managed to paint the rear bumper I made several months ago from a one bumper and a smoothed style GP trim. My tailgate has also been painted and looks lovely, really pleased


Sunday 9 September 2012

Brackets installed

With all the metal parts in hand I got some small chance to fit it all. Really pleased with all the clearance, only issue I have is there is a bolt under the blower just a little too close to the water pump but a file will sort that out and give me clearance I will be happy with. The cooper water pipe behind the blower is really going to aid the cooling especially with the custom head gasket with different size water ports.

Its nice to see the majority of the engine bolted together and all the parts feel strong. The lower bracket at the bottom is only tacked together at the moment as I ran out of Argon :( but I should get some more this week then I can finish the welding and shape the corners etc to make it look lovely.

Going to loose the red manifold as I really am not sure I like it.


I hope that in the next 2 weeks I will have all the mock parts made up and then I will assemble the whole thing for the final time and I can finish the gearbox off.

Friday 31 August 2012

Water pump

While collecting some parts I asked if I could just jump on the lathe for a few moments as the standard cooper water pump has a 6pk ribbed pulley. I locked the end of the water pump in the chuck and began to rotate the item at 20rpm and to my surprise the body of the water pump stayed still and did not rotate with the pulley. After a while I decided that I could get away with 80rpm and got the job done in no time. Other machine shops said the pulley had to be off the pump before it could be machined but I can confirm this not to be true especially as the pulley is plastic with a steel insert.

Job done and on the car


I may need to add a grip surface to help the back of the belt but that is not too much of an issue


Thursday 30 August 2012

From prototype to steel

Hot off the CNC machine my brackets for the supercharger and alternator are here. This is the final few parts I need to fully assemble the engine. Quite excited about recieving the parts and think once painted and installed they will look really nice.


I hope to get the parts fitted soon and to the final parts of welding on the outlet flange. Should be good fun

Wednesday 22 August 2012

Prototype brackets

Having printed my prototype brackets quite a while ago I finally really had time to get them on the engine.

The past few months have seen me out of action with a very poorly back to the point where the project has been on hold. Thank you for all the support messages and given a month I have a real want to push this project onwards. Some of you may have also noticed that I have another project, this is one for myself and my other half to do together, a lovely example of a late 72 build 73 plate bug... Looking forward to making it into a show winning example one day (2 year project)

Any way just a quick update to show the bracket in place on the engine, they are quite simple brackets and seam quite strong even in the printed abs plastic.

Really pleased with the alternator bracket, it looks excellent. I did not want to tuck the alternator into the space of the sump as I want as much road clearance as possible. I am really pleased with how it fits


 The supercharger sitting snugly on the bracket fully bolted down. Now all I need to do is get the steel item made


 Again another photo of the blower in place, really saddens me to see how much paint I have taken off the blower putting it in and out, oh well nothing a little bit of paint will not fix. When I have the steel item I will be able to triple check the length of nose required for the blower and I can then add the last bits and store the engine ready to go back in.


Thursday 19 July 2012

R56 bumper moulded again for the R53

After making what can only be described as the thickest heaviest front bumper in the world I sent it off to the fibre glass company for them to make a mould and a bumper off it. Have to say its looking mighty fine and I am really pleased with it.

I have suggest that I will do a limited run of the bumpers over on minitorque.com but at the moment health issues stop me moving much and hope that I can just man up and get over it. However this means I can get on with little jobs that need doing

First bumper off the mould, it has the curves and features I wanted with the bumper, probably still some work to go but not too far off now


The bumper is very pleasing and while its not quite my first I think I am happy to say its the most successful I have ever made.

Other items on the go at the moment are the remaining brackets to hold bits on the engine. I am fortunate enough that my design consultancy has a very good 3D printer which has enabled me to print the items out before going to metal. Can't wait to bolt them on and try them as its just one step closer. The alternator bracket I wanted to add some old school hot rod feel to it and decided to just add the three holes. The supercharger bracket I added triangles between the ribs as it was material not required, I may make some changes to this...


Wednesday 11 July 2012

Some shots of primer and some items in paint

I can't believe how a month has gone by since the last update, we are all suffering with the rain causing problems all over the place so with all the water laying around the car has been slow progress, however there has been progress.

The car has now been fully primered and then has had a guide coat applied and worked smooth ready for paint. The tailgate, doors and boot are all painted now and I have been able to start assembly of the items.

Bonnet sitting safely in one of my garages, the white and the carbon looks so good together I am so pleased to finally see the items come together.
The scuttle vents all bonded in and smoothed in, now they look like the should be there and are blended to make them look like they are part of the body work
 Another shot of the scuttle vents in the a guide cote
 Rear quarter in primer with the second guide coat in place, feeling really smooth, the time is really paying off.
 Bit of a full shot to show the current state. Wont be too long now before we consider pushing the car into the booth for paint.