Saturday 29 January 2011

Cage fitting P1 and battery box

Start of the day was cold, frosty, with all the water in the kettle frozen and the heater doing very little to warm me up.

I decided that since I had the cage it should be put in the car or at least make a start with it. Prior to fitting the cage I wanted to ensure that the battery box was removed, firstly because I want a straight through exhaust and then weight savings, and lastly I do not plan to put a battery back in the boot and plan to put it under the bonnet.

To remove the battery box I decided to use the angle grinder and small 1mm cutting disk
With the battery box cut out it was they laid upon a sheet of steel which was marked out and cut to size, once cut this was spot welded into place and will need to be seam welded when I have a little more time.
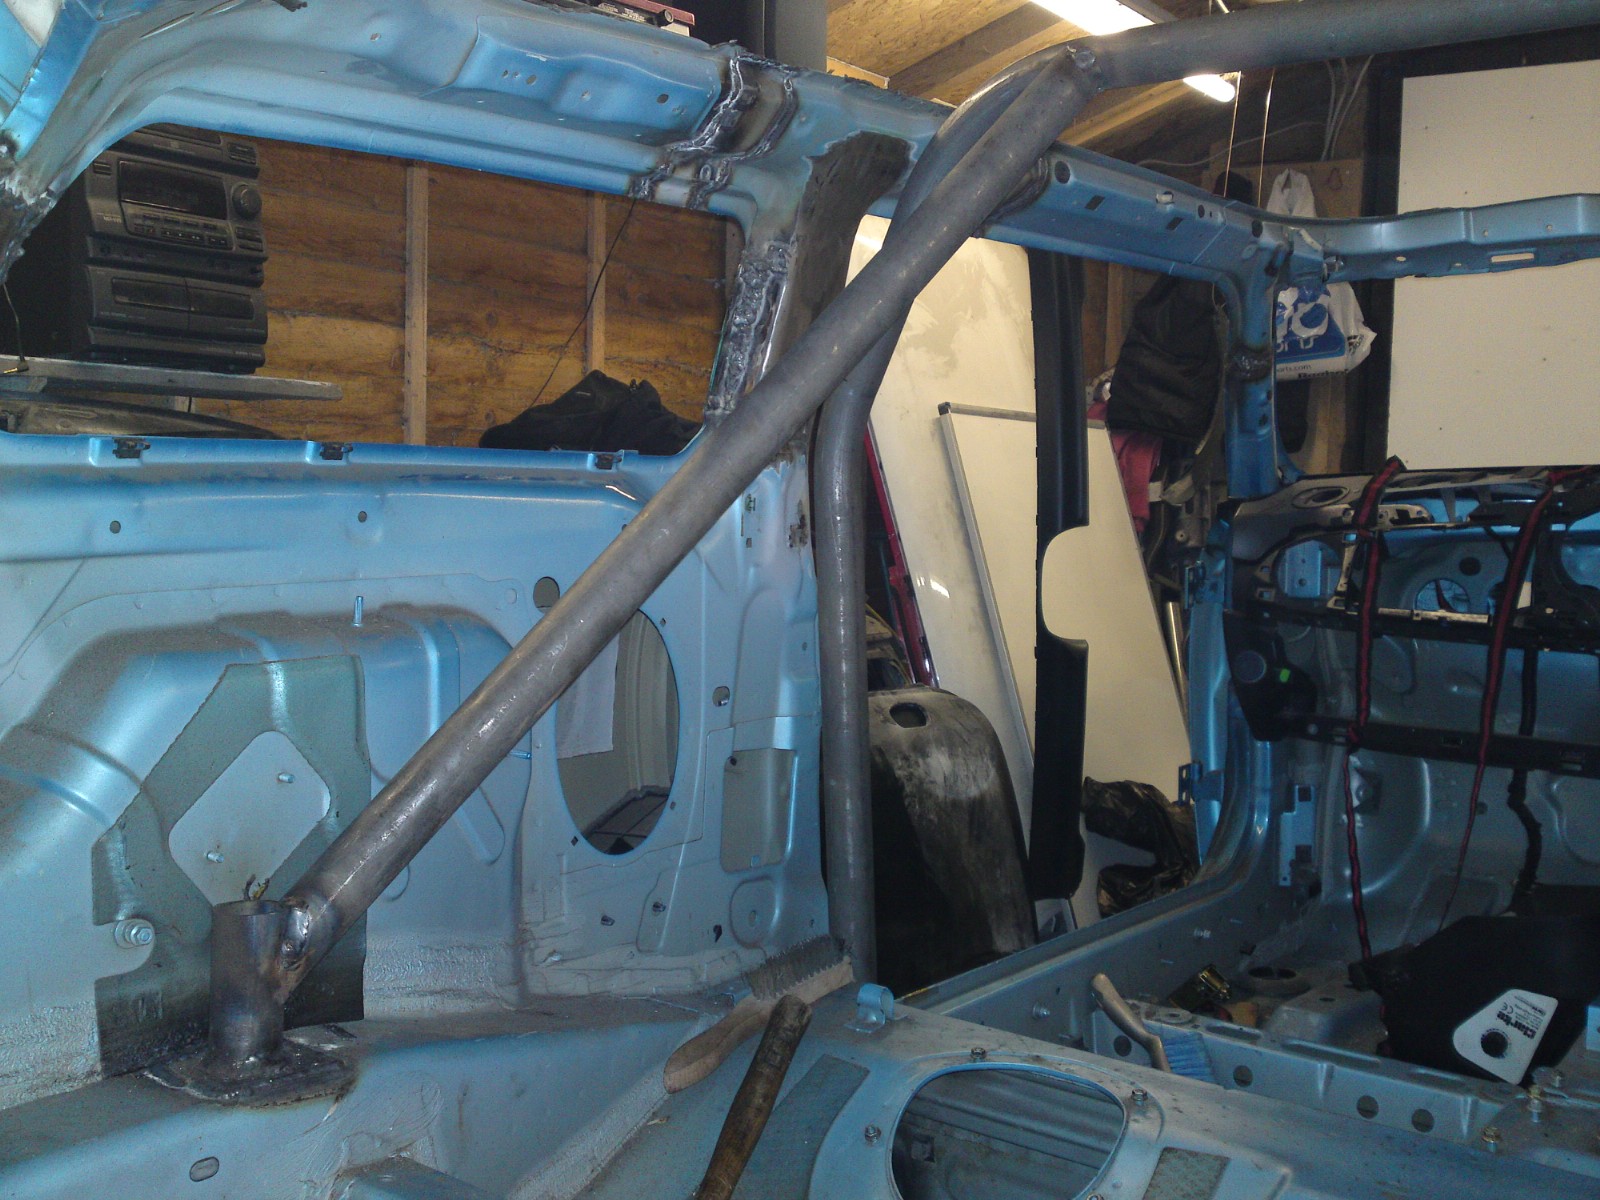
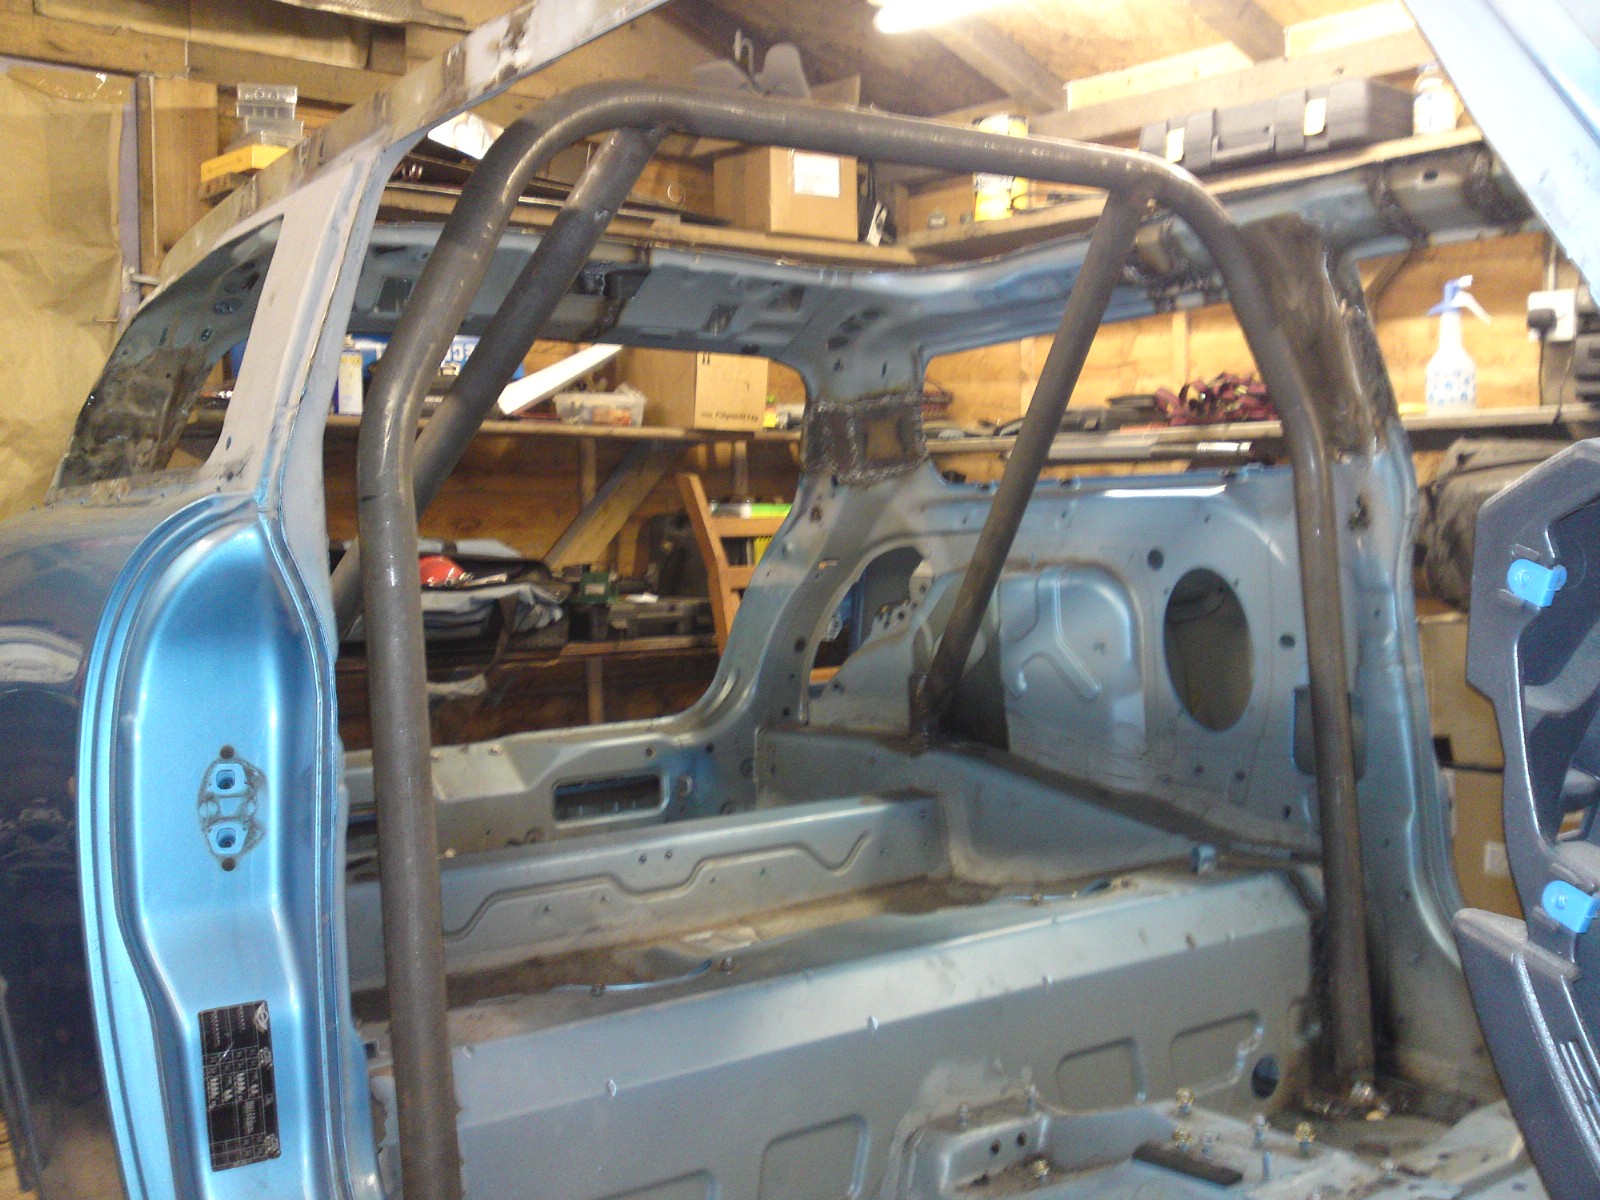
Set with my measuring tape I started to mark out the car and cutting the roll cage bars. With the bars cut I started to weld in the rear plates and stand ups for the cross members


My next move was to fix the main hoop in place and start to notching the tubing for the cage. I managed to break the hole saws I had so couldn't finish the job but I will get the parts and will get on with it next time.


Friday 21 January 2011

Roll cage arrived

I am glad to say that after a short time the roll cage parts have arrived and I am very excited. To keep costs down I will be notching the ends also its something I wanted to do. Not a very hard parcel to recognise being wrapped in bubble wrap.

Its now in the back of the tourer and will be making its way to the unit this weekend and I will be doing a trial fit and I hope to be notching some pipes too. This has got me all excited... Other half doesn't seam as excited or even impressed by the selection of metal bars.

Tuesday 18 January 2011

Roll cage design FEA

Prior to ordering the half cage, I need to be sure that should the worst case happen I was protected or at least the harness would hold in place without folding in.

The FEA study is based on the tubing being 45mmOD with a wall thickness of 2.6mm and produced from cold drawn steel. To keep the post short I have decided to take out all the maths and boring parts and leave you with the pictures as results

The first test based on the stress of the material and for simplicity of this initial study I decided that I would base the test on 60mph to 0mph instantly with a mass of 60Kg this will be throughout for the images loaded here unless otherwise stated and I end up with a full report which I don't want to do currently.

The image you see here is with the above figures but the image depicts a scale of 225 times the actual displacement so to show the CAD user where the faults lay (easier to see)


As you can see from the above picture the load is across the harness bar facing in the direction of pull and is also fixed at the base shown in green.

If I turn off the scale you will see the actual deformation / displacement


Also I believe it is good to see where the maximum displacement is so this scale 1:1 shows where the movement of the cage is greatest, which for something as simple as the cage shouldn't be hard to work out.
The Displacement shown in red is 7.45mm under maximum load


As a simple conclusion to my workings and CAD data I am sure that should the worst happen and I end up in a high speed crash the cage will support me, just a question of the rest of the car...

Friday 14 January 2011

Roll cage design P2

A weekend passed and I had time to measure the car again just to ensure 100% the measurements where correct. With the seat in I decided that the A pillar bars are simply too close to the driver and passenger head and for this reason I decided to go only with a half cage. The only purpose of this cage is to hold the seat harness and I can always add further bars later if I want too.

Here is the half cage I am going to build.
 For those who want to see it in 3D and move it around click the link 3D cage

The cage has been ordered with Andy Robinson as in the useful links down the page side. I am going to be welding the cage together as to continue with the theme of doing everything myself where I can. I hope to receive this soon so I can start to notch the tubes and install the cage and get the roof skin on.