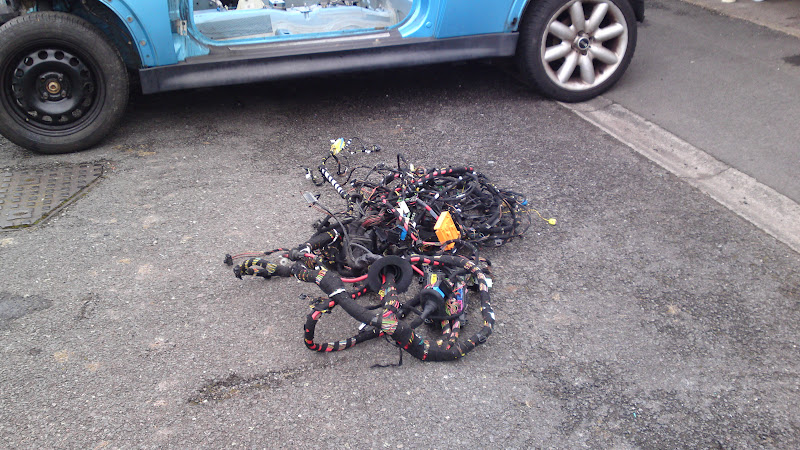
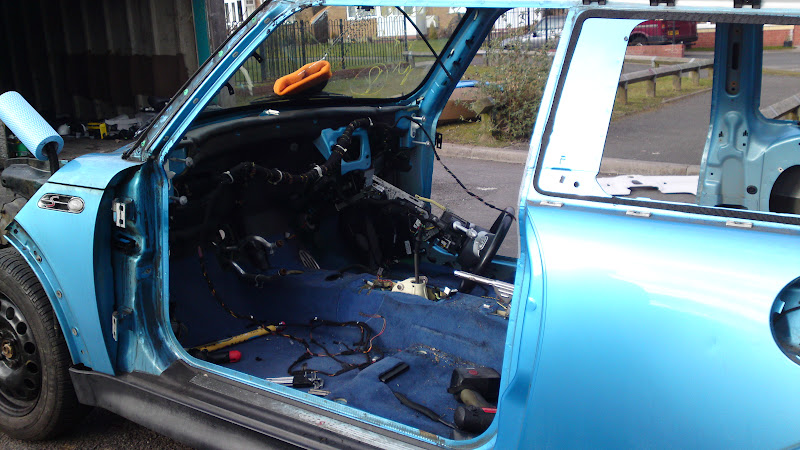
While I waited for the post to come I set about turning the compressor on and getting the air chisel ready to remove the spot welds I no longer need, I have always removed the welds on past cars with a chisel and hammer though this does pull the body work. I have also drilled them out with a typical metal drill with a 118° tip though this goes through each panel and leaves a hole to fill.
Eventually my post turned up and there was 2 6mm spot weld drill bits, I have never used them or even seen them so I was quite excited, I placed the drill in the chuck and began to drill a hole, all I can say is wow! the time to remove the spot weld was hugely reduced to other methods and it left very little marking.
Before
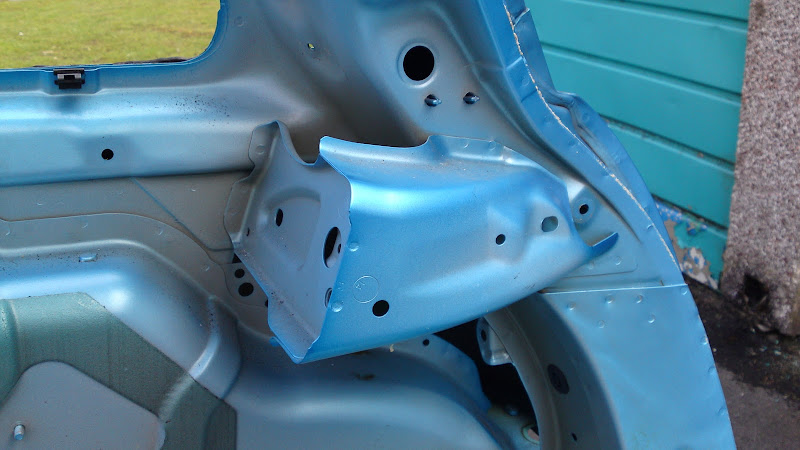
After
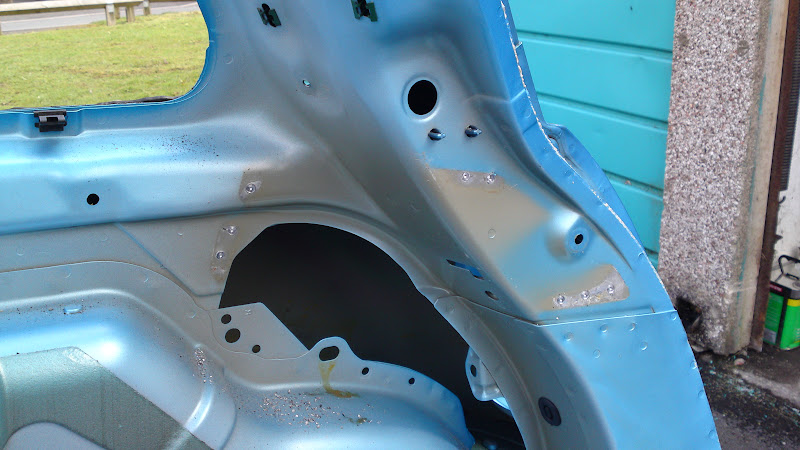
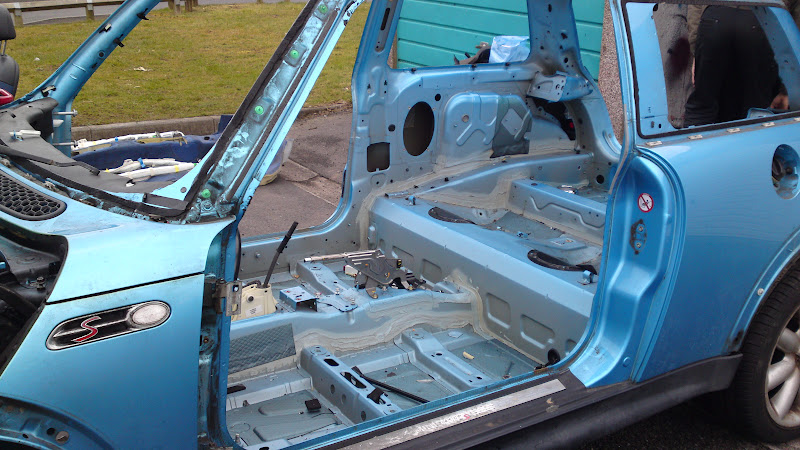
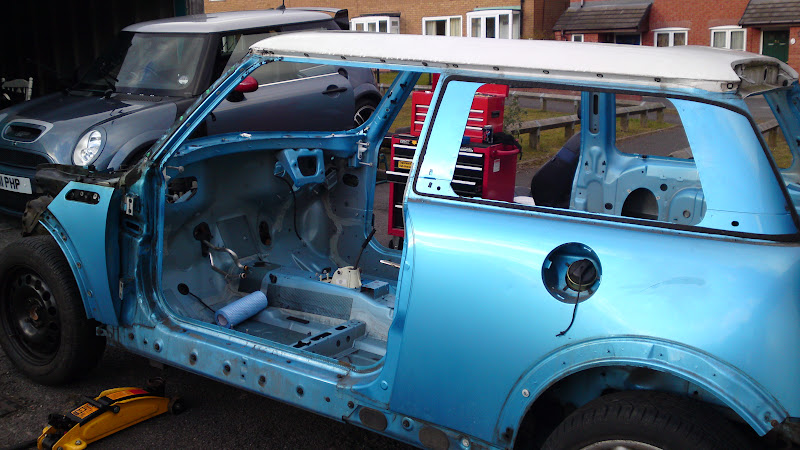
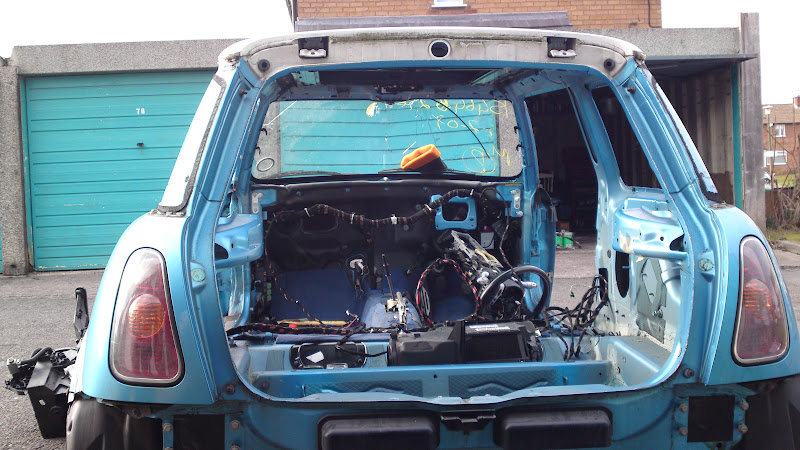
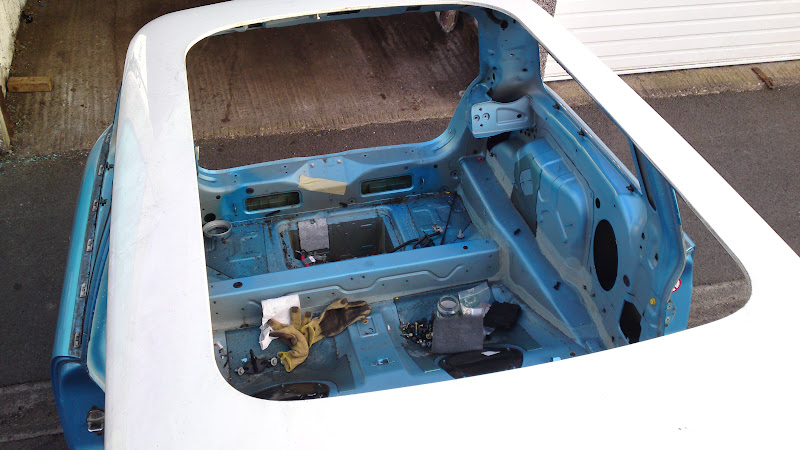
In no time I had drilled out the rear seat supports, they are not needed as the car will only be a 2 seater. This helped reduce a little more weight from the car too, I then set about removing the seat clips and body parts that are not required. I love the spot weld remove tool!
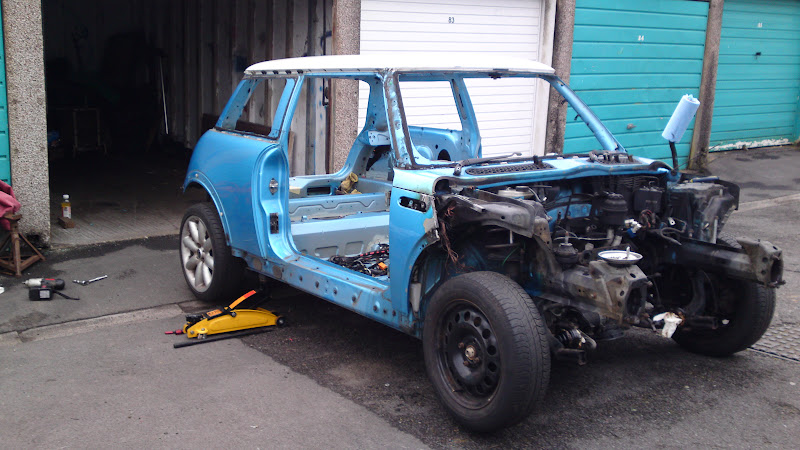
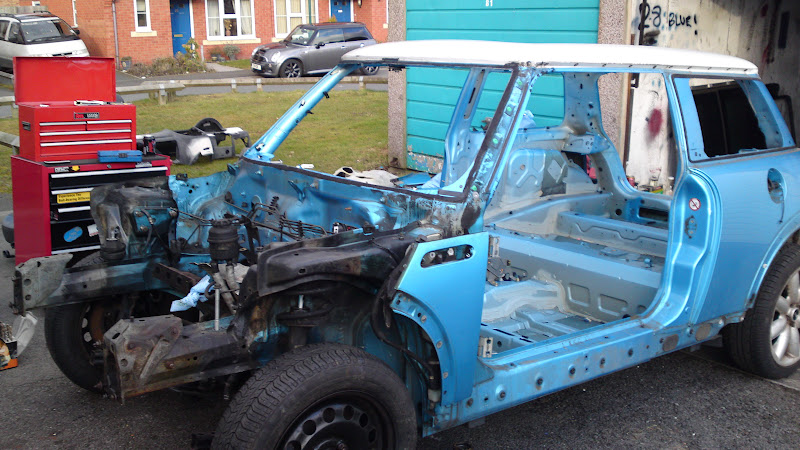
With the spot welds removed and almost everything else in the car I decided that it was time to start to structurally support the car ready for the next part of the project. I set about with the angle grinder and the 25*25*3 box section supplied by the metal supermarket (excellent supplier).
I set about measuring the box section and placing it into the car using magnets, once I was happy with the position I put a quick weld there to hold it, real problem with welding the box to the car is the wall thickness of the box being 3mm and the car being 0.90mm making the heat concentrate want to blow holes in the car, I am happy to say there was only a couple of holes in the whole car which I will refill later.
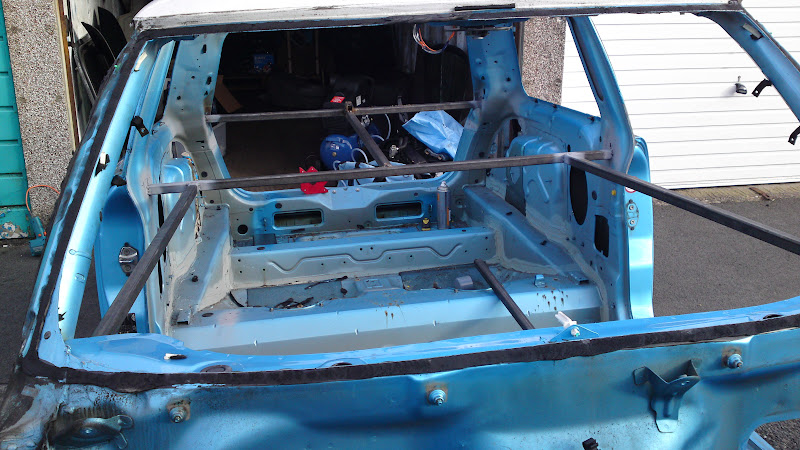


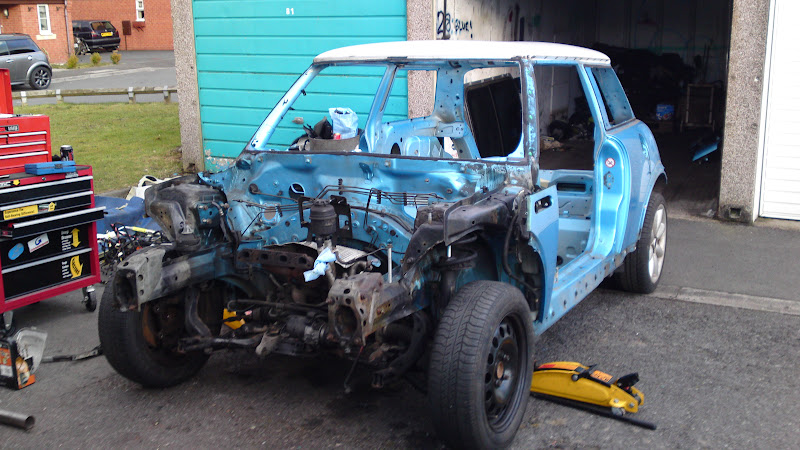
I would like to say there was more but this took quite a while as I wasn't really in the mood to do any welding... There is still quite a bit of frame to be installed ~ this is not any sort of roll cage! this is only a temporary solution to help me progress with the project.